Draw Straight Lines Embird Studio
Basic Shapes
Basic shapes like rectangle, ellipse. etc. are available from main menu > Shape. Items in this menu are normally disabled, because shapes are accessible only in the creation/editing mode, when object's nodes are editable. This mode allows to use shapes for any type of object and to combine several shapes (like ellipses) into a single object.
Example 1 - Star
Let's start with a simple example - a star shape used as a fill object.
1.
![]()
Click on the Fill Tool button in the tool bar at the left side of the screen. This will start the creation/editing mode.
2.
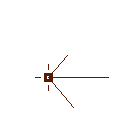
Click on the work area to create the first node. Note that there is a spider leg control on this node. This control indicates angles of underlay and cover stitches of the fill.
3.
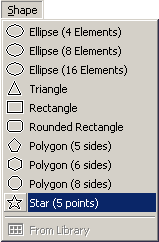
Use main menu >Shape >Star (5 points) to select the star shape.
4.
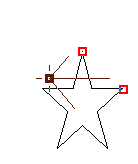
Click on the work area and draw shape with dragging cursor on the work area with left mouse button depressed. Release the button. Shape is not finished yet. Its size and position is only approximate.
5.
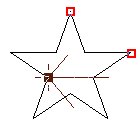
Adjust the shape position and size with use of the red nodes.
6.
![]()
Click right mouse button anywhere on the work area to open the pop-up menu. Select to Elements option.
7.
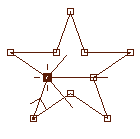
Shape is converted into the series of elements and nodes. The series begins and end on a spot nearest to the first node created in step 2.
8.
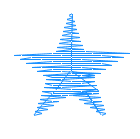
Click right mouse button anywhere on the work area again. Select Generate Stitches command from the pop-up menu that appears on the screen. Finished object is plain fill object with shape of a 5 point star.
Example 2 - Satin Stitch Ellipse
In creation/editing mode it is easy to combine several shapes into a single object. The most common case is drawing of satin stitch ellipse.
1.
![]()
Click on the Column Tool button in the tool bar at the left side of the screen. This will switch Studio into creation/editing mode.
2.
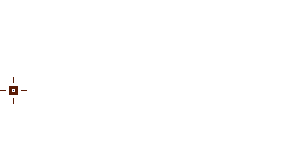
Click on the work area to place the first node of the object. The first node is marked by a hairline cross.
3.
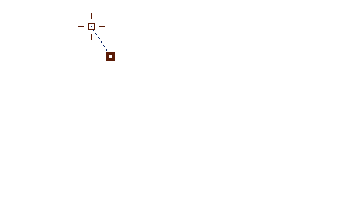
Click on another place to create a base of the column object. Note that focused node is displayed with thick border. The base is displayed as a dashed line. Both edges will start in this base and end in another base at the opposite end of the column. Basis are always straight lines and they define angle of stitches at beginning and end of the column. Angle of stitches in between is interpolated from these two basis.
4.
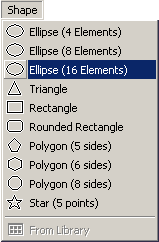
Use main menu >Shape >Ellipse (16 Elements) to select the ellipse shape. Lower number of elements is suitable for small ellipses, because it produces lower number of nodes and is easier to edit. Higher number of elements in this case means smoother shape closer to the ideal ellipse.
5.
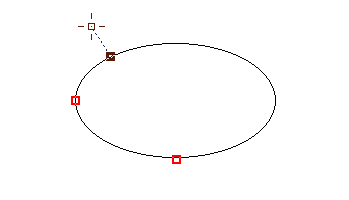
Draw ellipse close to the focused point. Use red nodes to adjust ellipse size and position accurately.
6.
![]()
Click right mouse button anywhere on the work area and select to Elements command from the pop-up menu.
7.
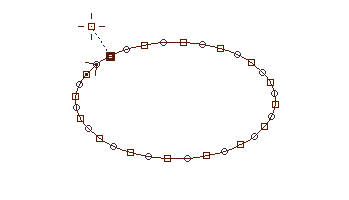
The first side of column is finished.
8.
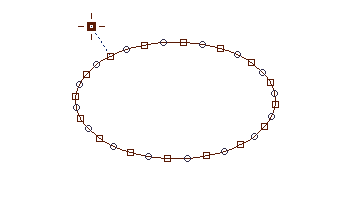
Now click on the first node of the second side to focus it.
9.

Use main menu >Shape >Ellipse (16 Elements) to select the ellipse shape again.
10.
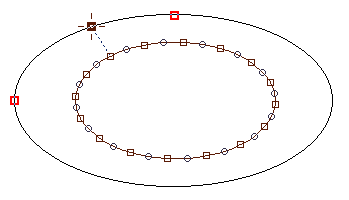
Draw second ellipse close to focused point.
11.
![]()
Click right mouse button and select to Elements command from the pop-up menu.
12.
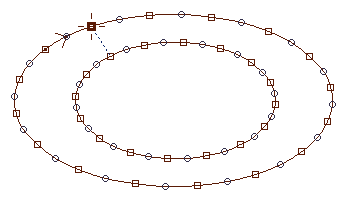
Both sides of ellipse are drawn.
13.
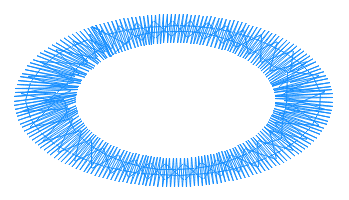
Click right mouse button anywhere on the work area again. Select Generate Stitches command from the pop-up menu that appears on the screen. Finished object is plain column object with shape of ellipse.
Example 3 - Rounded Rectangle
The principle of rounded rectangle creation is the same as in previous examples. There is only one exception - this shape uses additional controls for curvature of the corners. These controls are located in the top-right corner of the screen and they look like this:
![]()
Use the first control to adjust the horizontal curvature of the rectangle corners. Second control affects the vertical curvature. Adjustment of controls of this type is explained in the Parameters chapter.
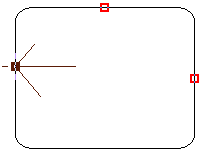
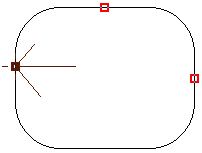
Rounded rectangles with different amount of curvature.
Draw Straight Lines Embird Studio
Source: https://www.embird.net/studio/manual/0275shapes.htm